
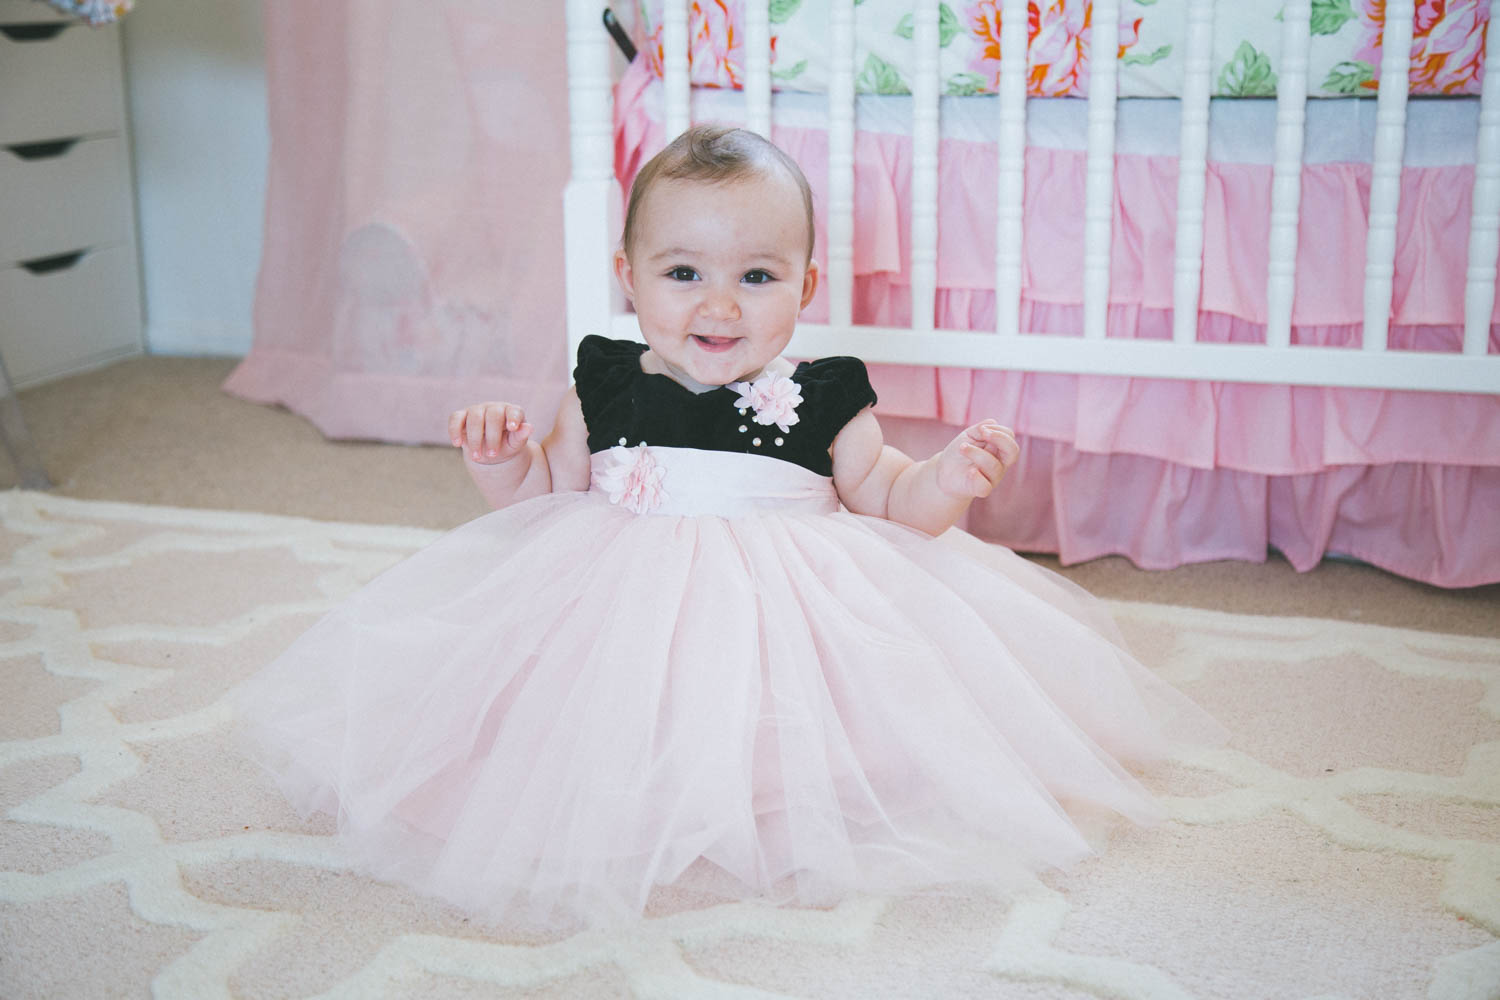
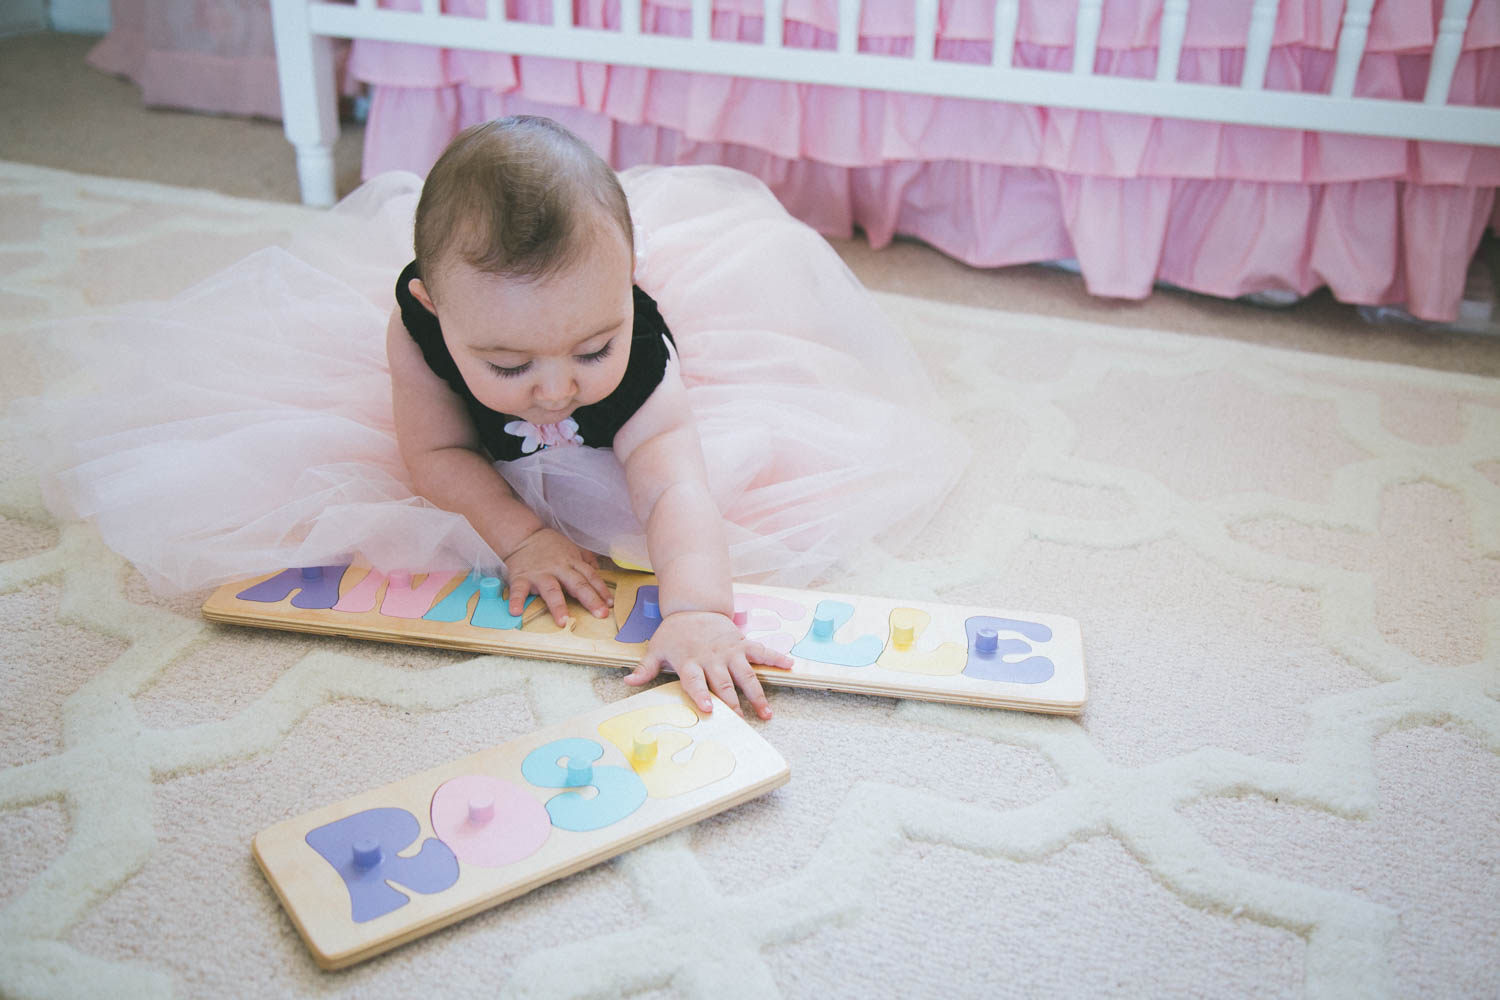
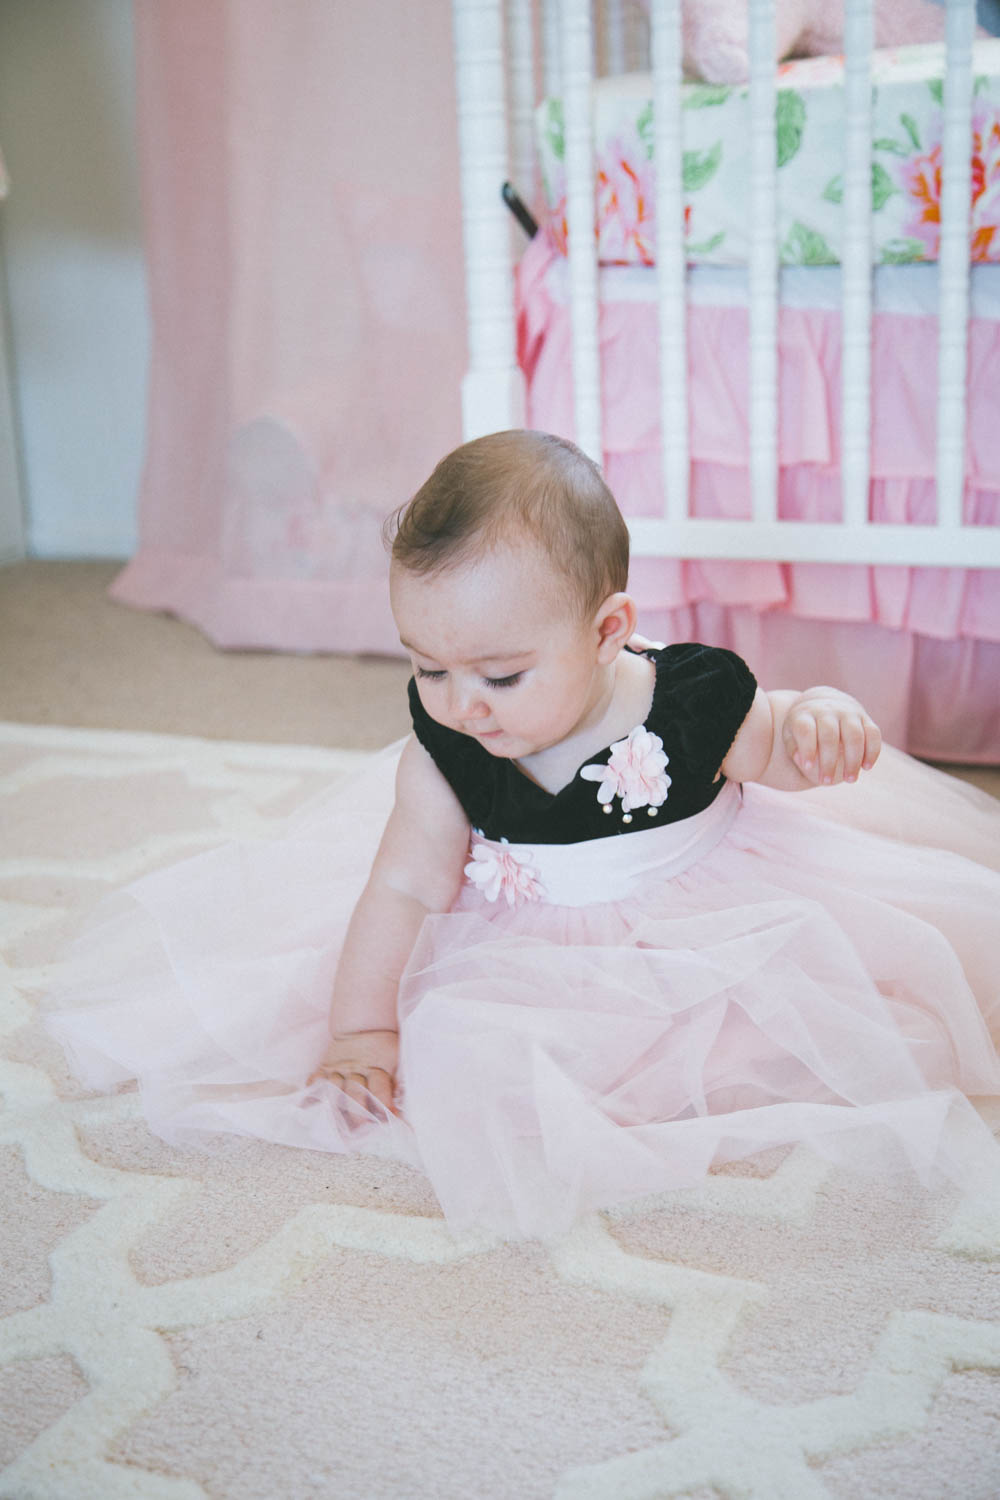
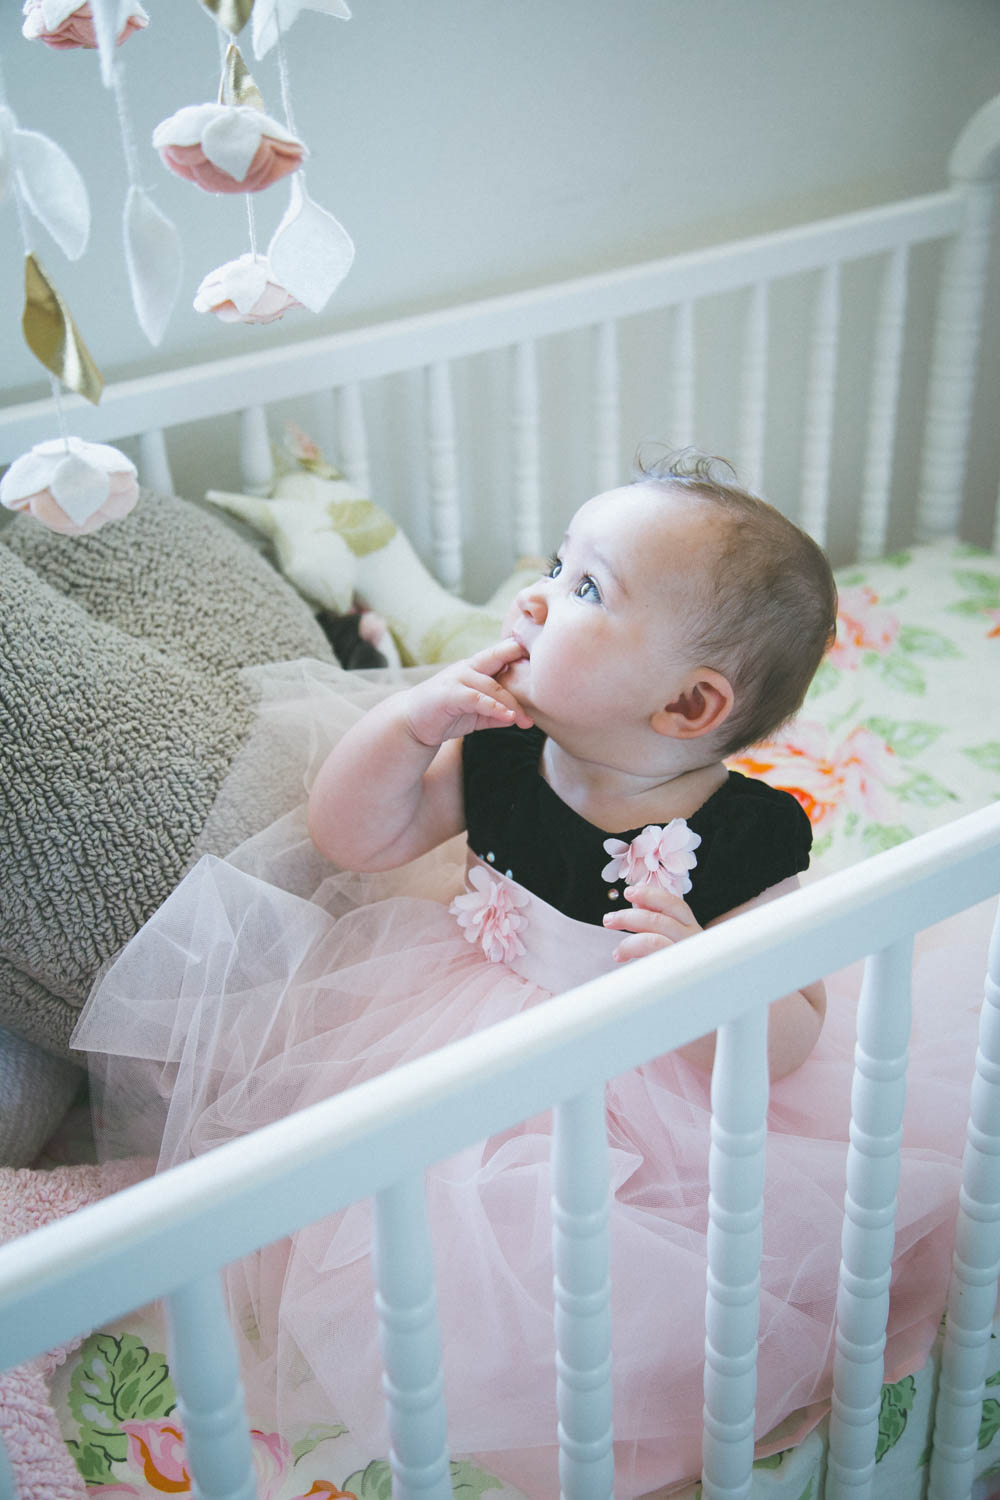
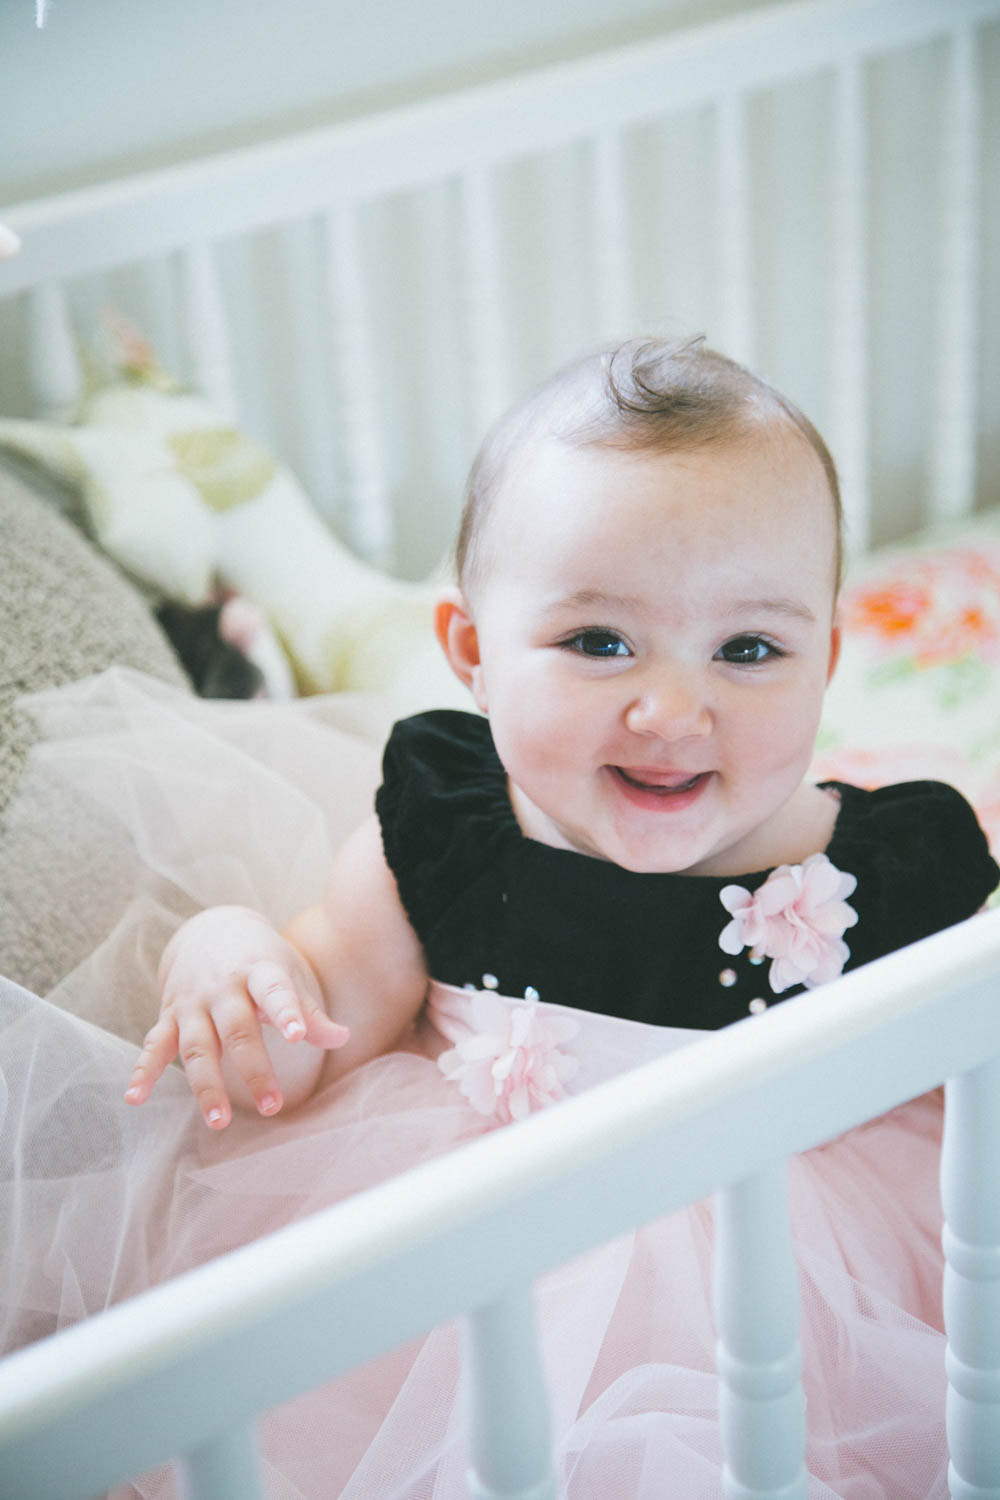
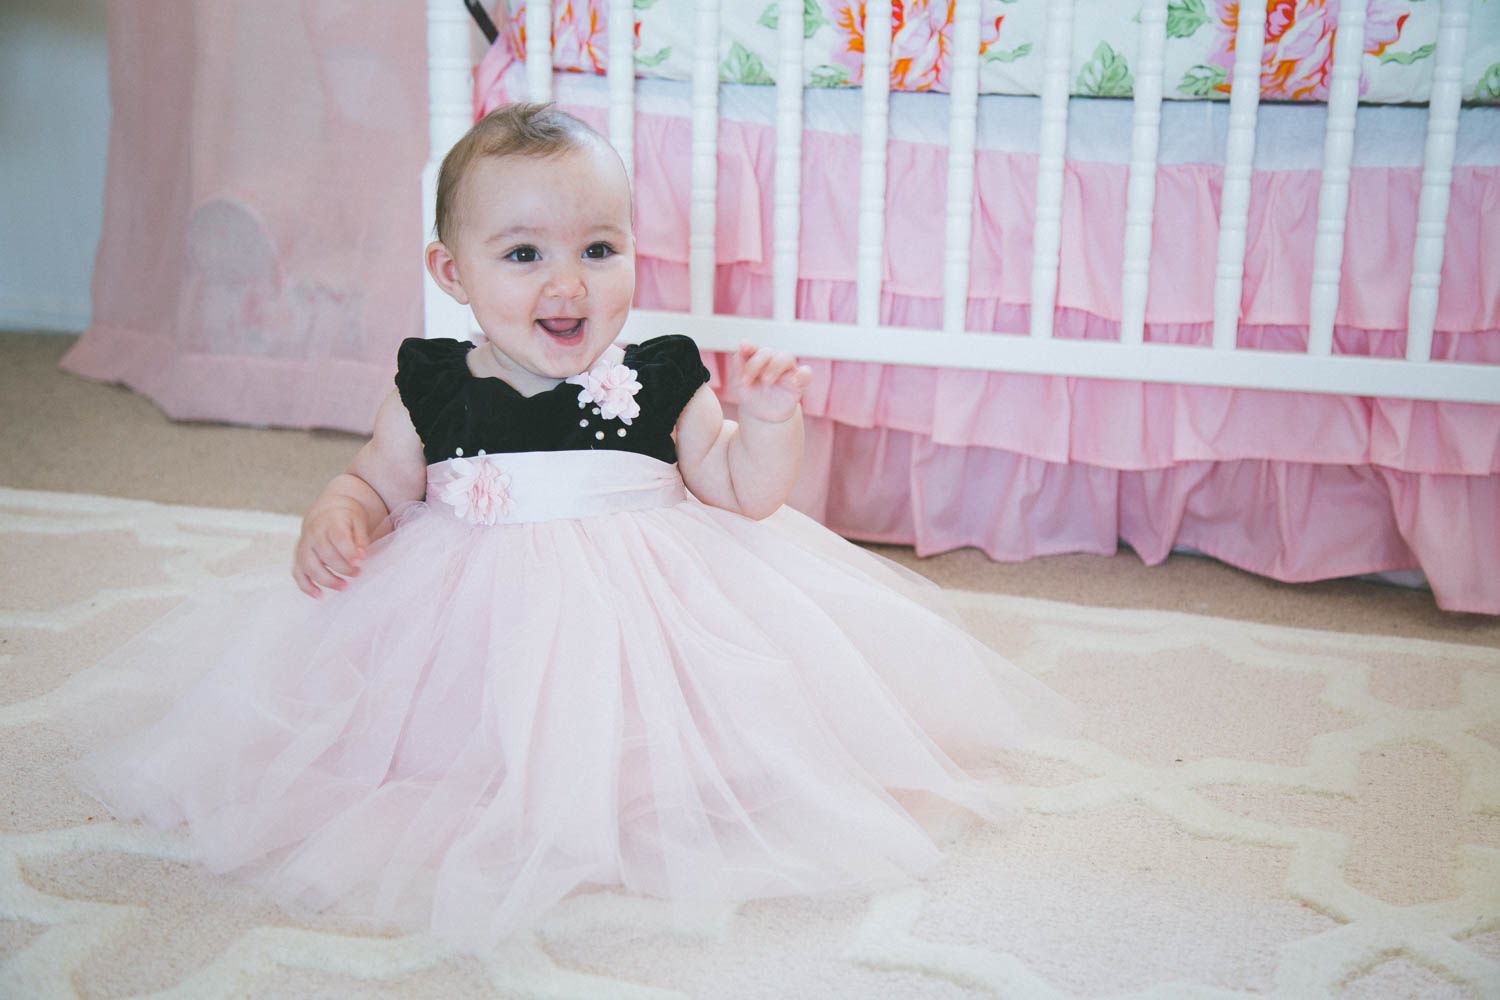
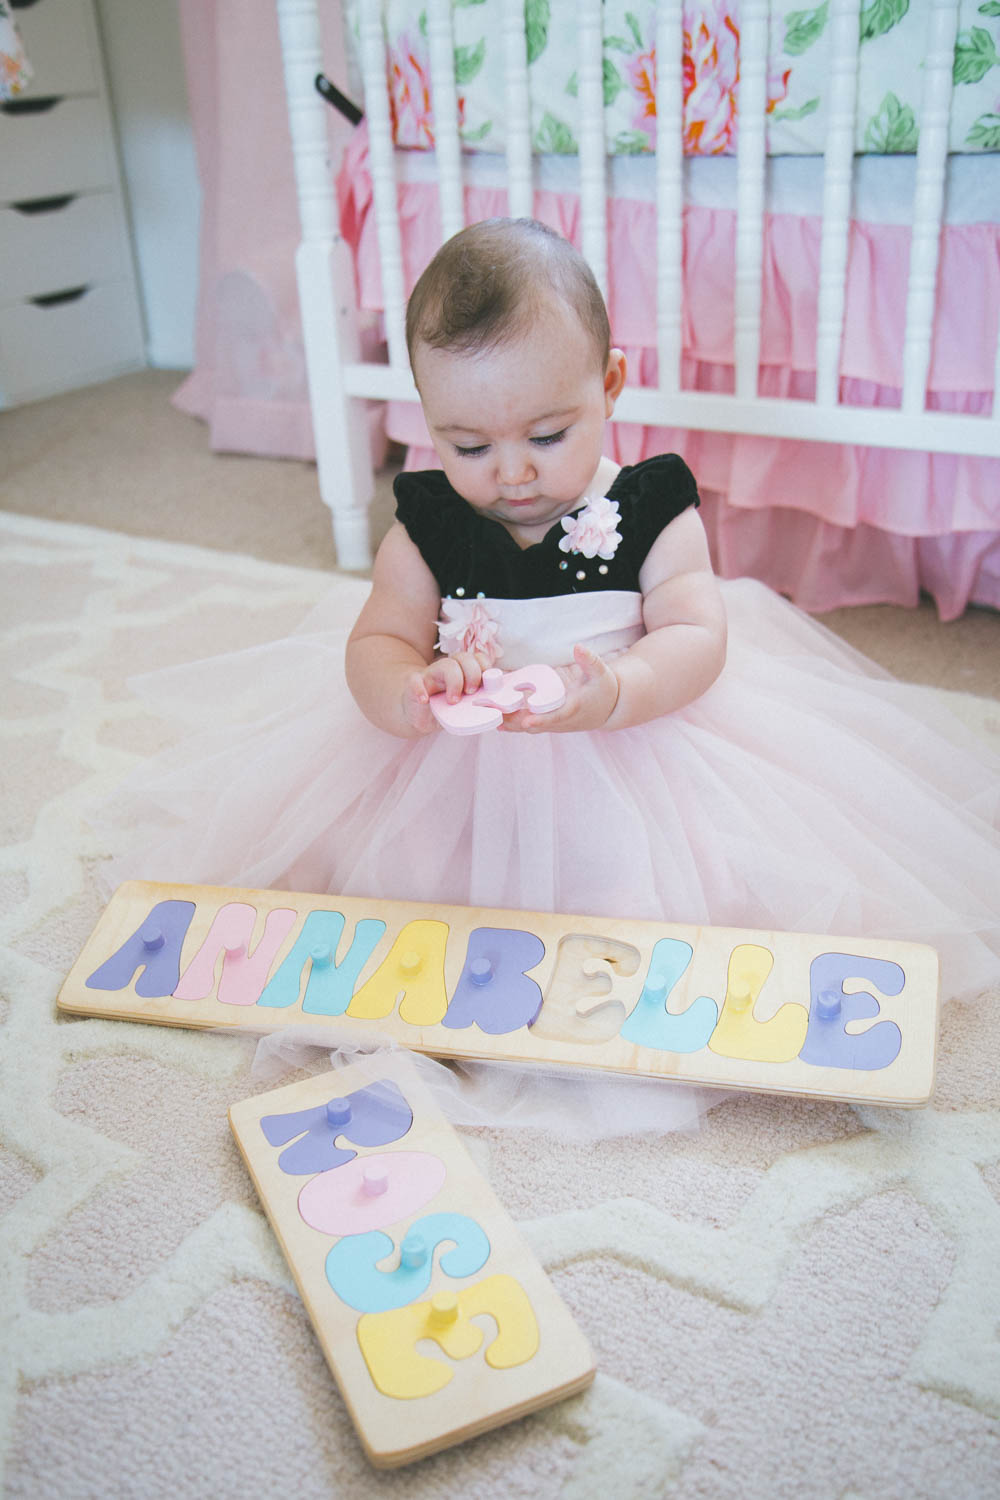
Annabelle’s Dress c/o | All nursery items are linked in this post | Personalized Name Puzzle
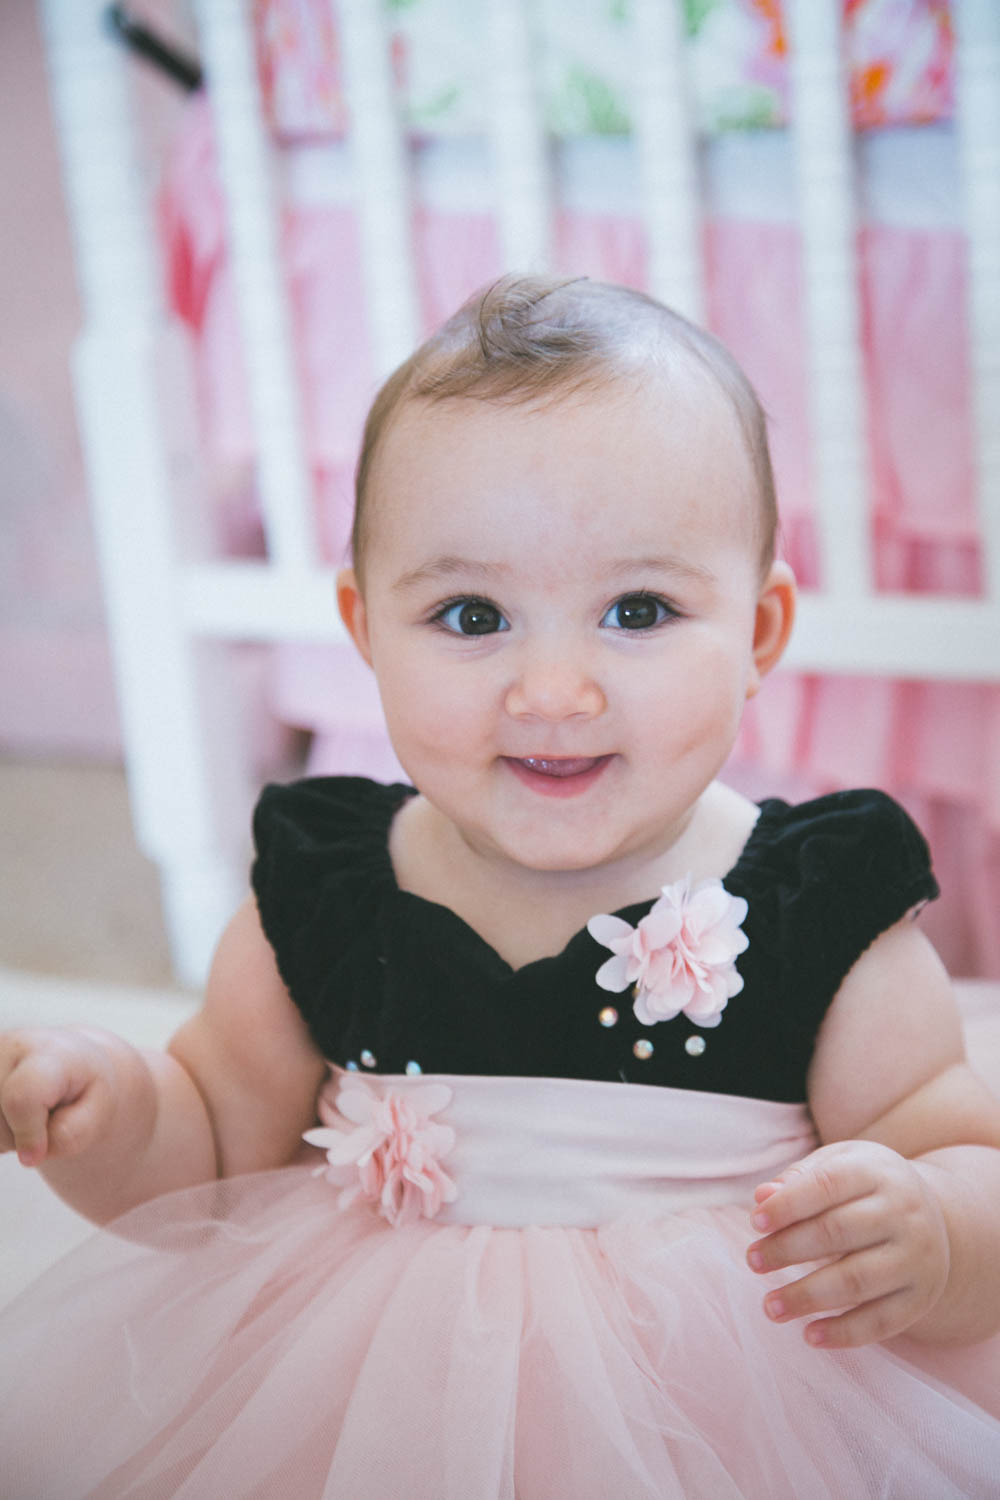
I absolutely love the entire process of taking and editing pictures. It’s been a hobby of mine for the past five years and since having a baby it’s slightly slowed down a bit. Of course, like any Mom with a new baby, I have hundreds on my phone, but there’s something so satisfying to me about getting the lighting just right and composing an actual picture with my DSLR. I’m always getting asked what my tips are when taking pictures of Annabelle and also what gear I use so I thought I’d do a post on it!
- This one is obvious – make sure your baby is well fed, burped, and not sleepy! I’ve made this mistake one too many times and most of the shots are of her cry face!
- Take pictures during the afternoon so the lighting isn’t too harsh. This is something that comes naturally to people who are used to taking pictures and not so natural to others and this applies to any subject, not just babies or children. You never want your subject in direct sunlight because it casts harsh shadows on their features.
- If you can, use good equipment. This tip isn’t for everyone because I know people have a budget/might not want to do this step, but it is my #1 tip. Even if I wasn’t a blogger and Youtuber, as a Mom with a family I would 100% invest in my own camera and a lens. This saves so much time and money in the long run in my opinion. We don’t have to pay a photographer for family pictures once a year, Christmas cards, baby portraits, etc. Also, I can document everything and have amazing pictures for my children to look at when they are older instead of iPhone pics! haha I use a Canon 6D with a 24-105mm f/4L lens. It’s PERFECTION. It’s an all around multi-purpose lens that you can use for anything. You rarely ever get a bad picture with this camera because it lets so much light in. You can take a picture at 8pm and even if it’s dark outside, the camera captures so much light and your picture looks flawless! The lens is also amazing because it really focuses your subject and makes the background blurry, which is how you get a more “professional” look to your pictures. This camera and lens would be my suggestion if you want a more budget-friendly, but high-quality camera! You’ll still get a crisp photo with blurry background:)
- Edit your pictures. I am in love with Adobe Lightroom. Doug and I have used it for several years and it’s soooo beyond easy to learn. It’s not like a more complicated program like Photoshop! I mainly use it to adjust lighting and add presets (aka “filters”) on my pictures.
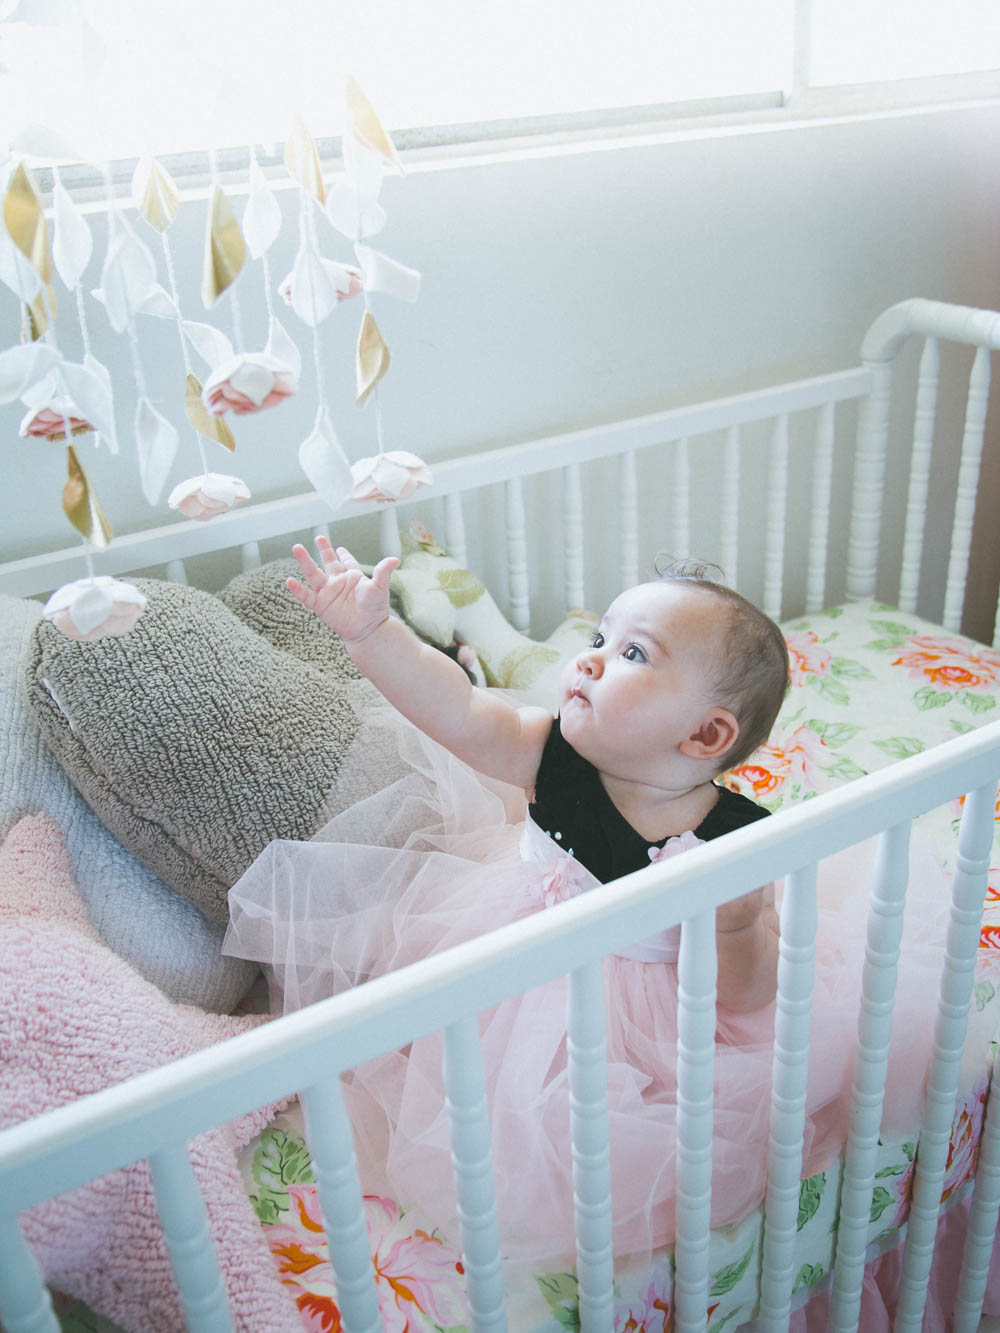
- Take as many photos as possible and try not to stage your photos. If you look at my blog you can tell I’m not a fan of the typical “say cheese” pictures aka where everyone smiles at the camera all still. To me it doesn’t really capture the essence of the moment so I take as many candid shots as possible and just snap away!
Here are some other posts you might be interested in on the topic of photography!

Shes so cute <3 🙂