Sew Trendy Accessories Dress c/o (10% off site wide with code HPY10)| Pearl Hair Vine c/o
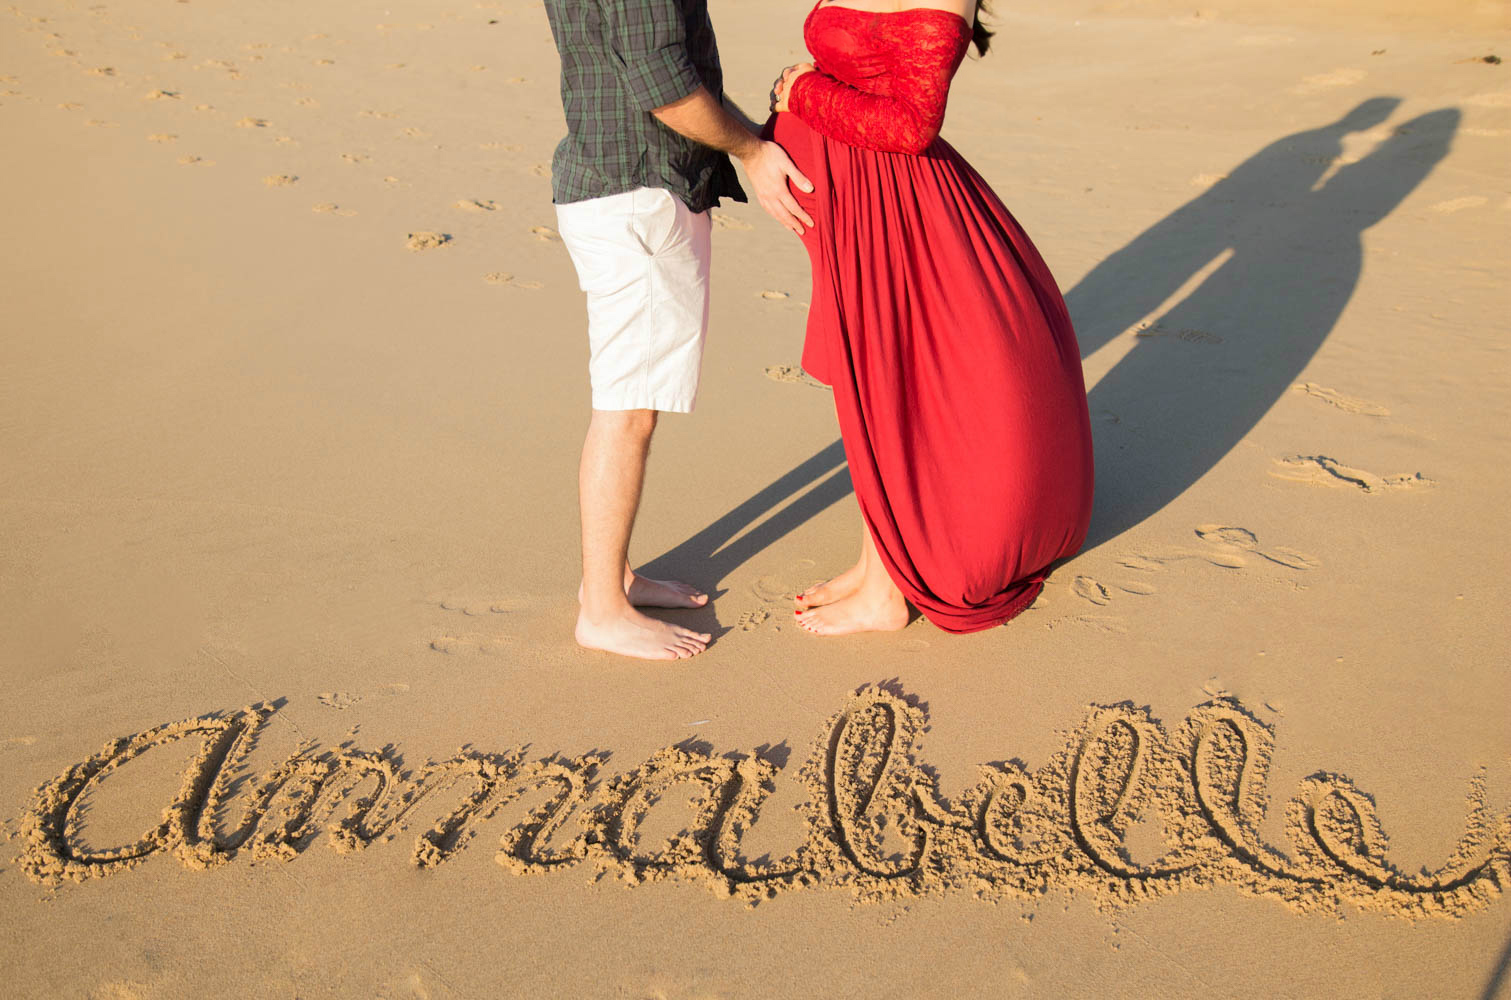
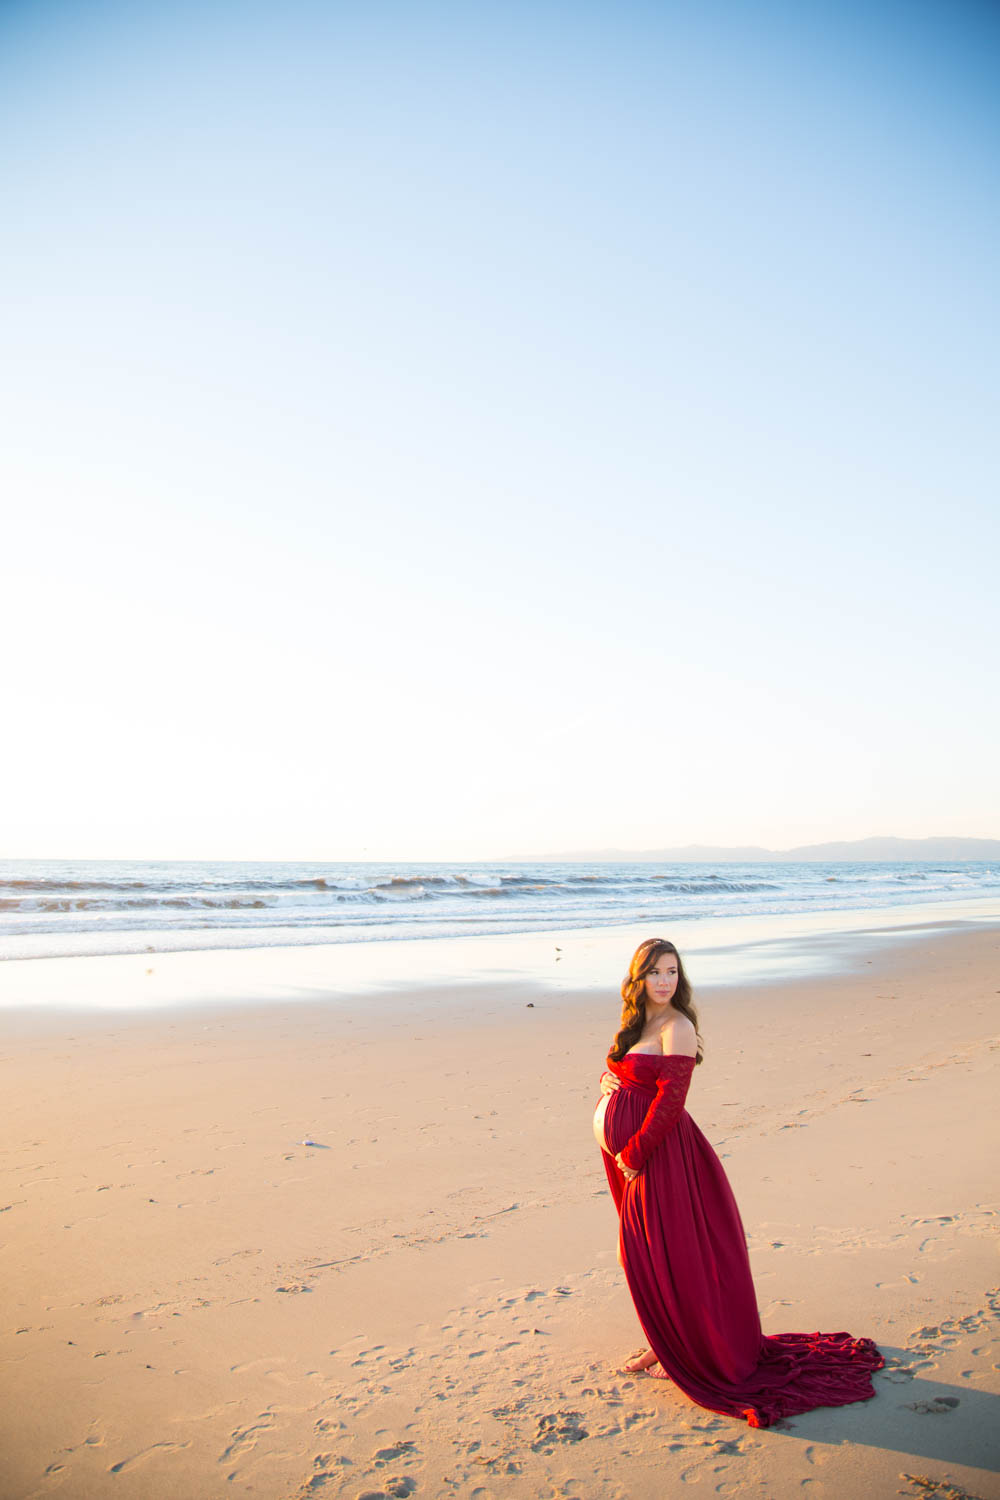
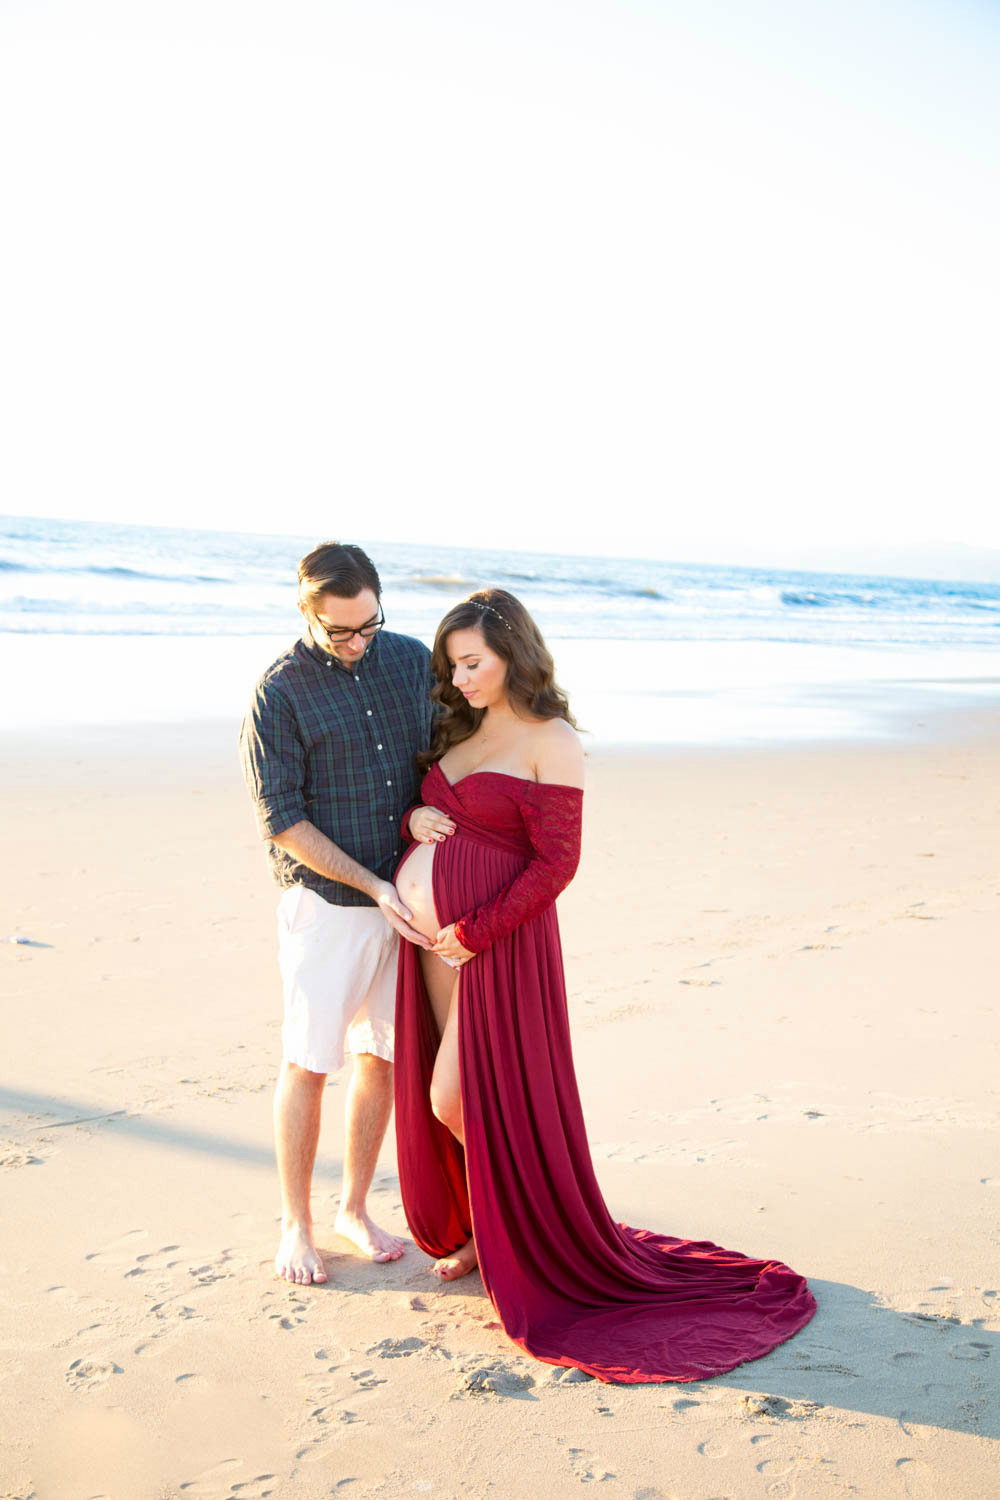
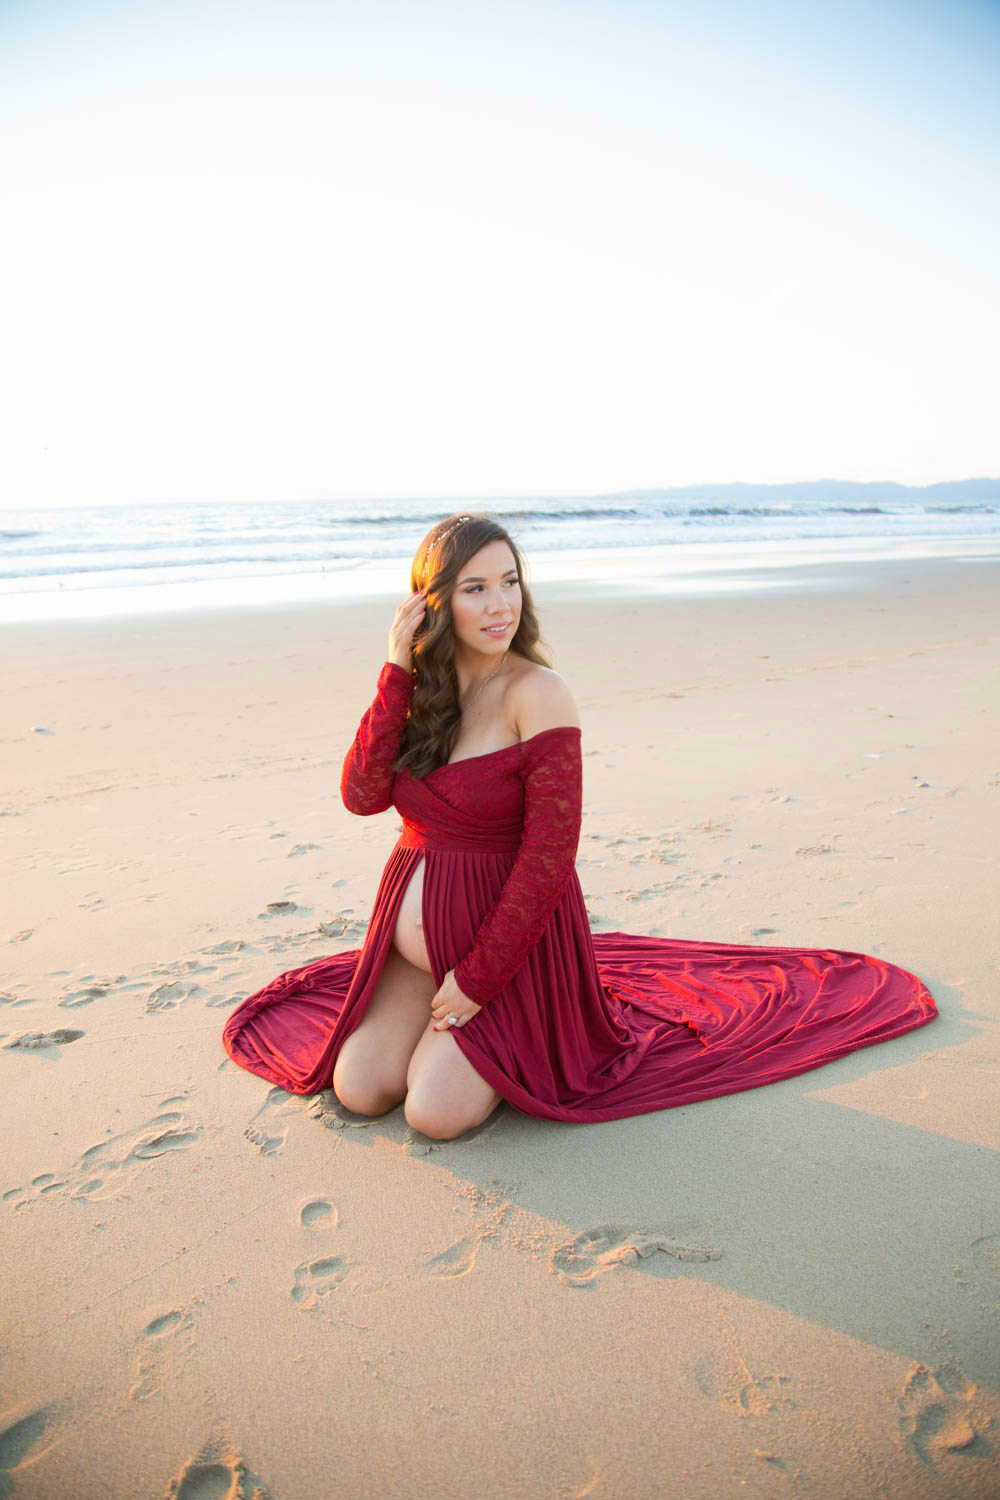
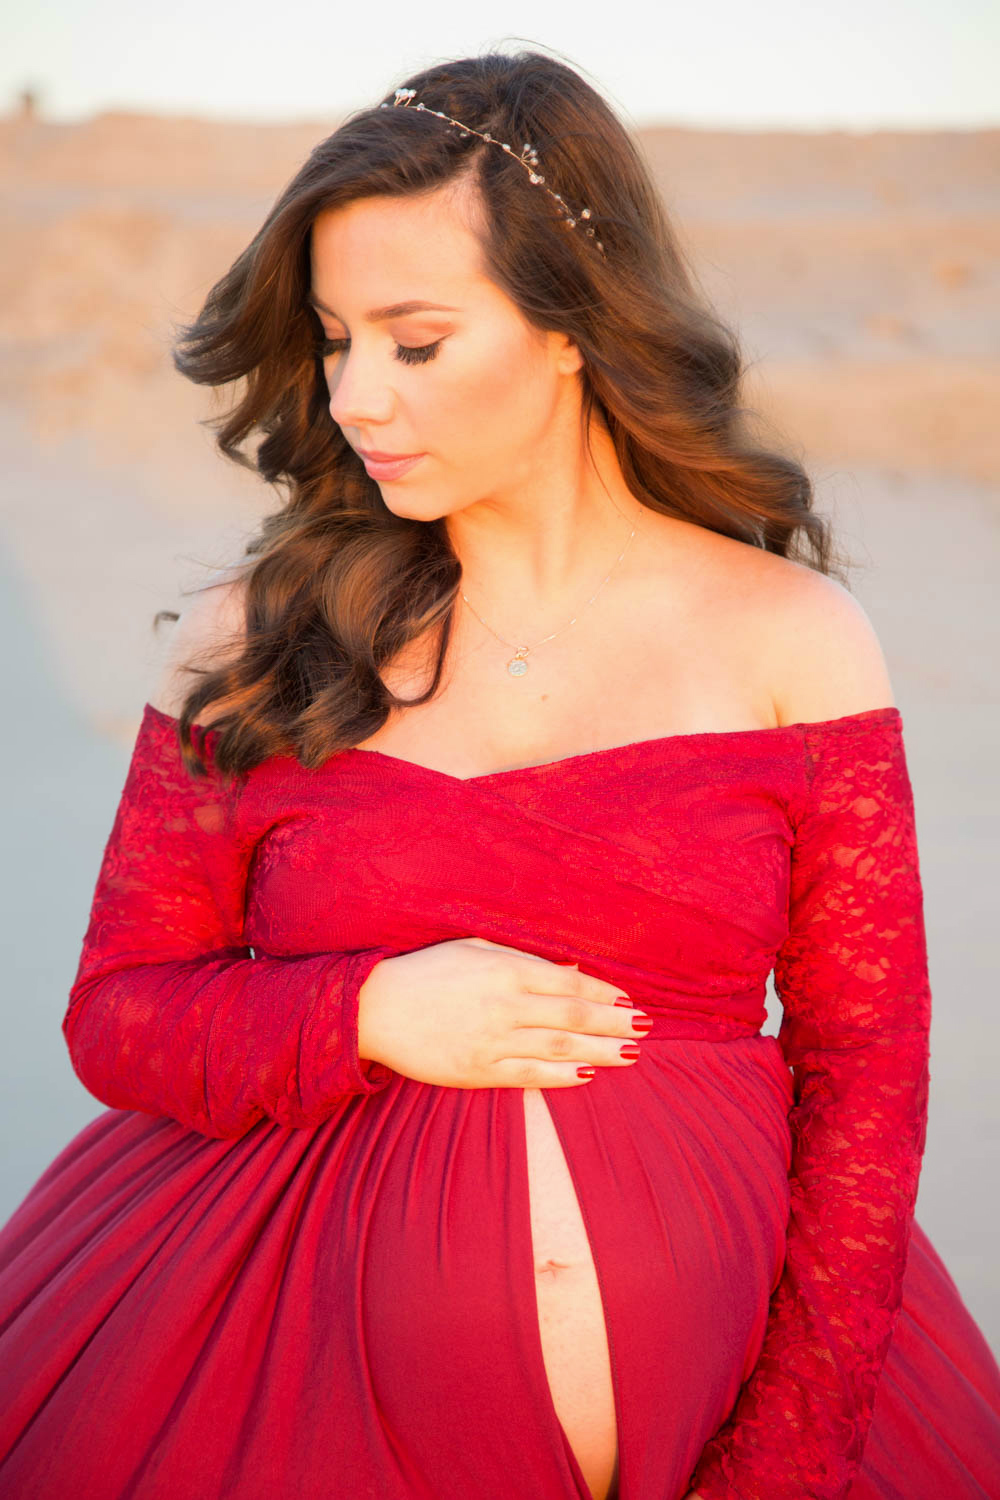
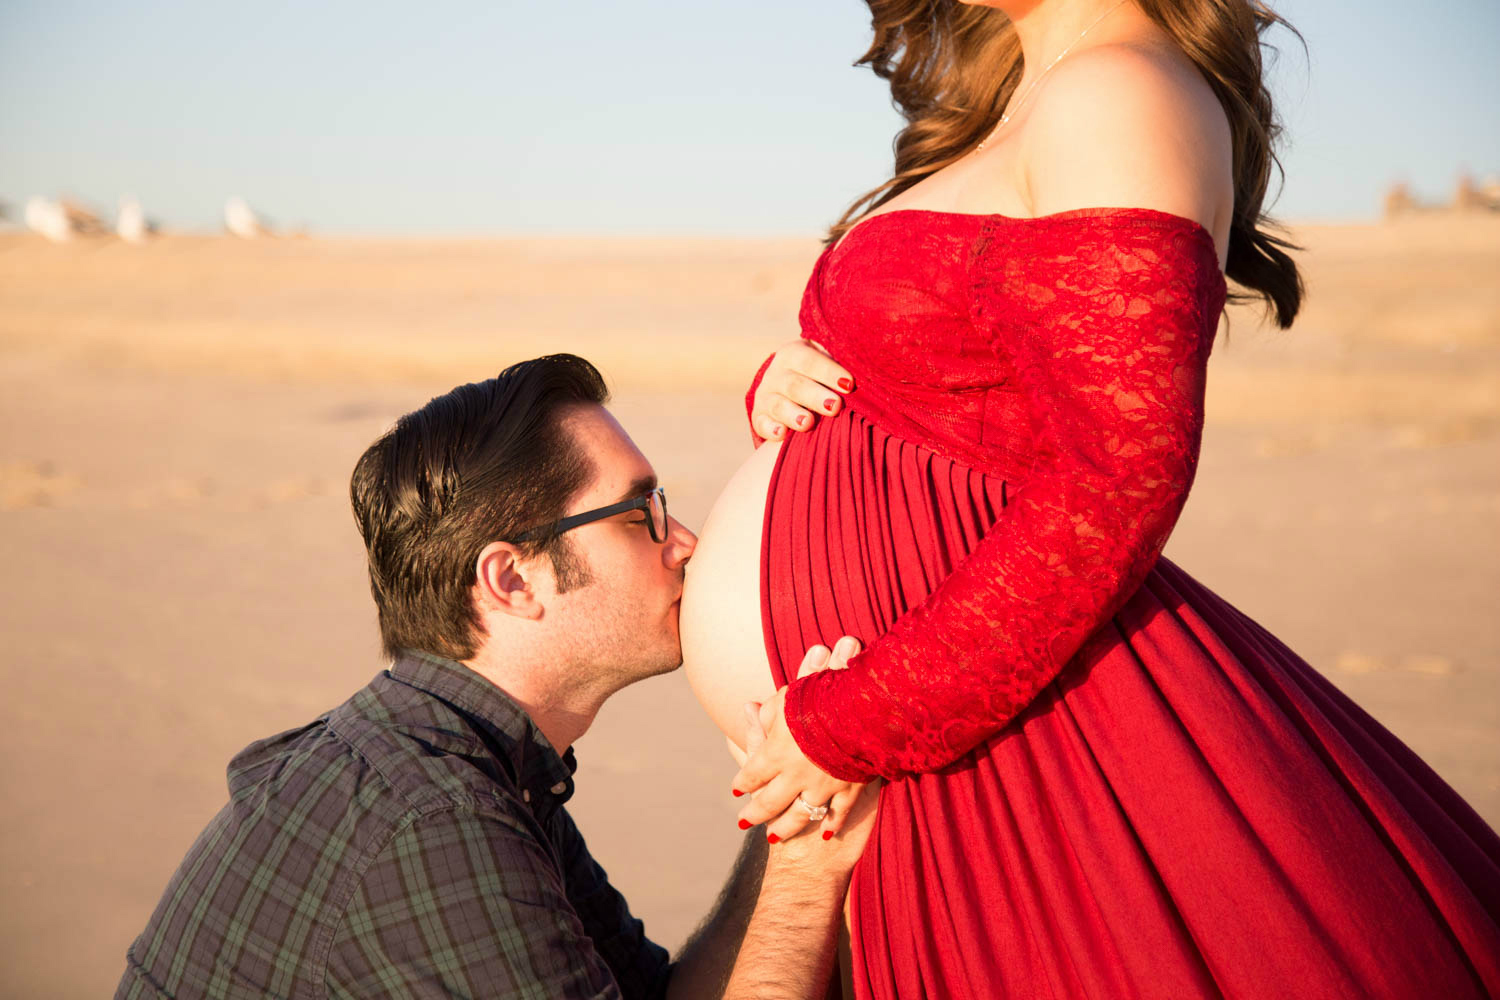
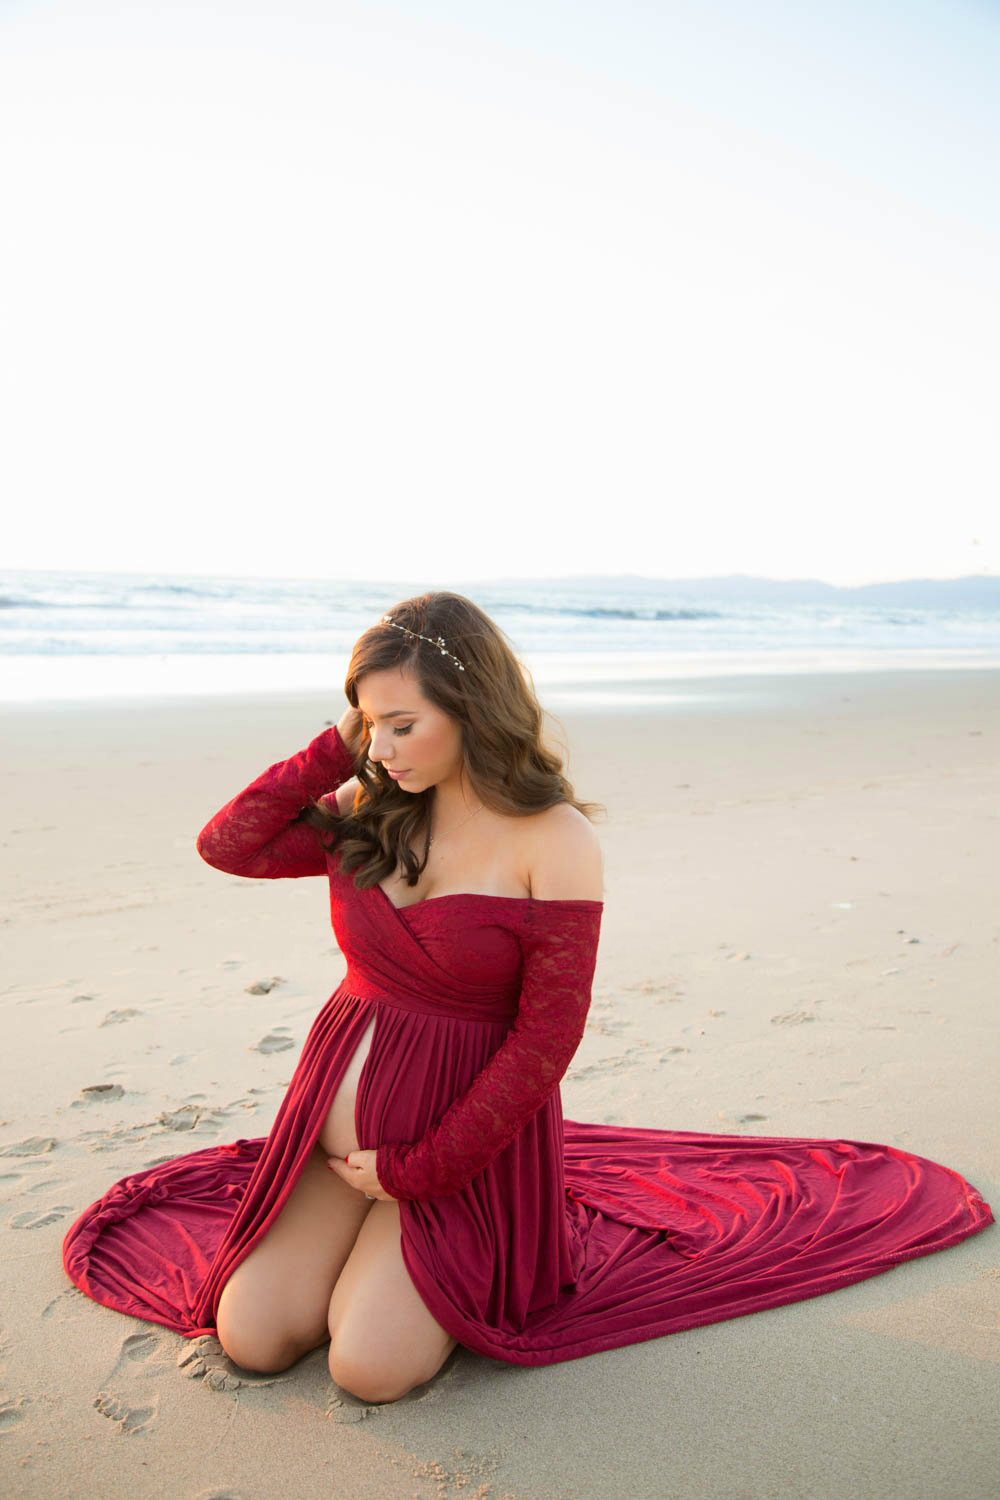
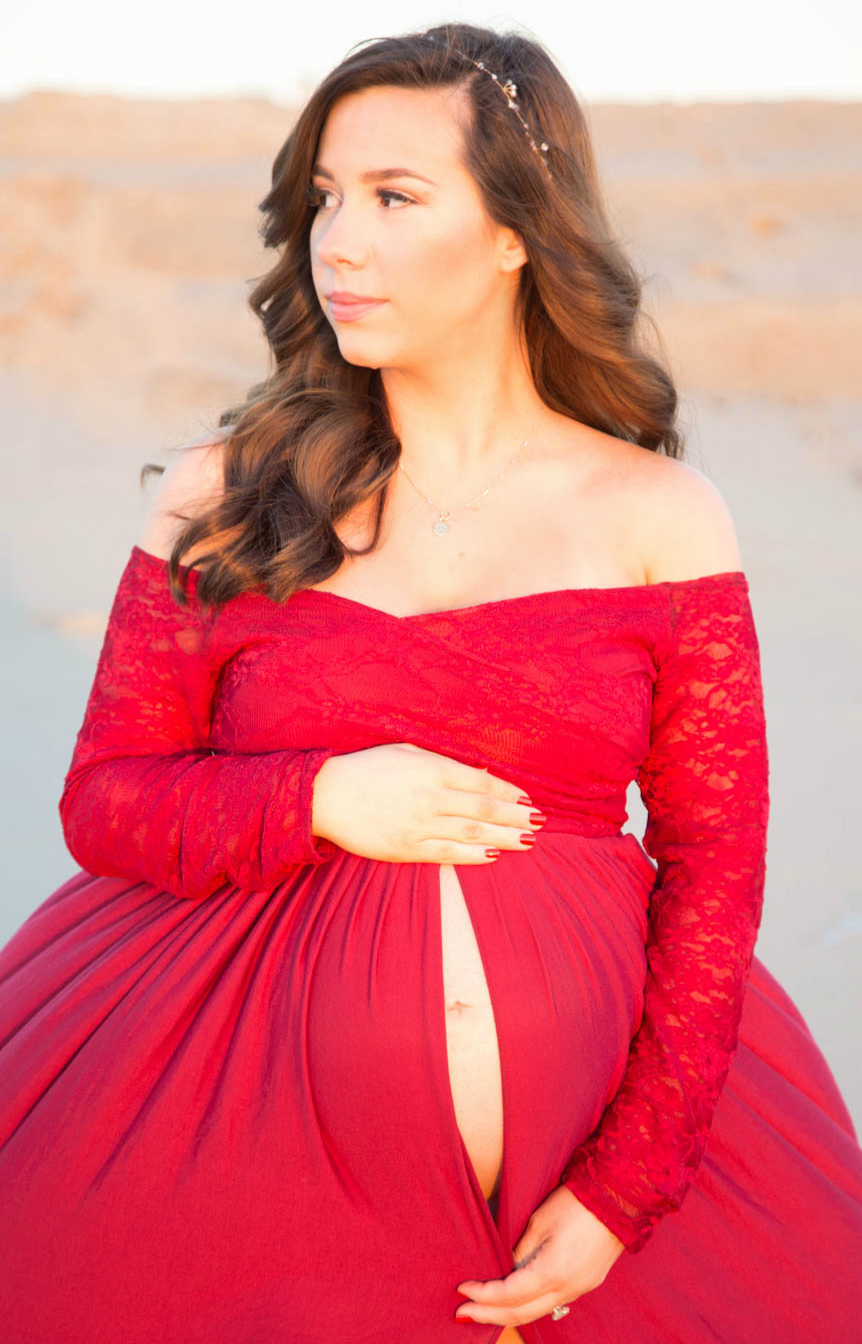
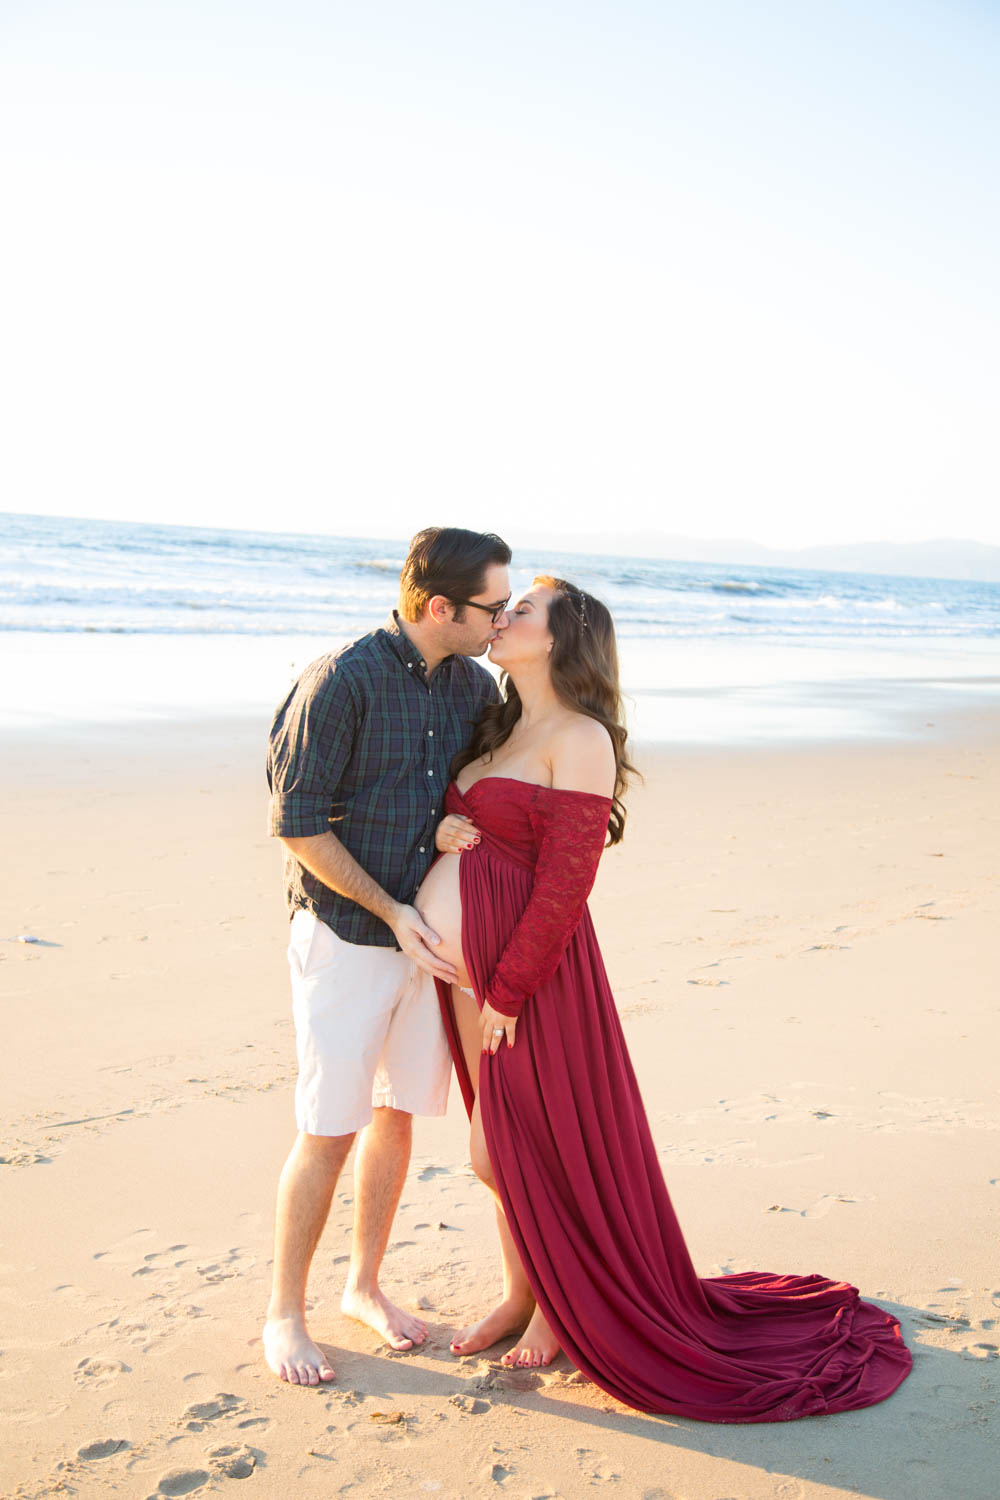
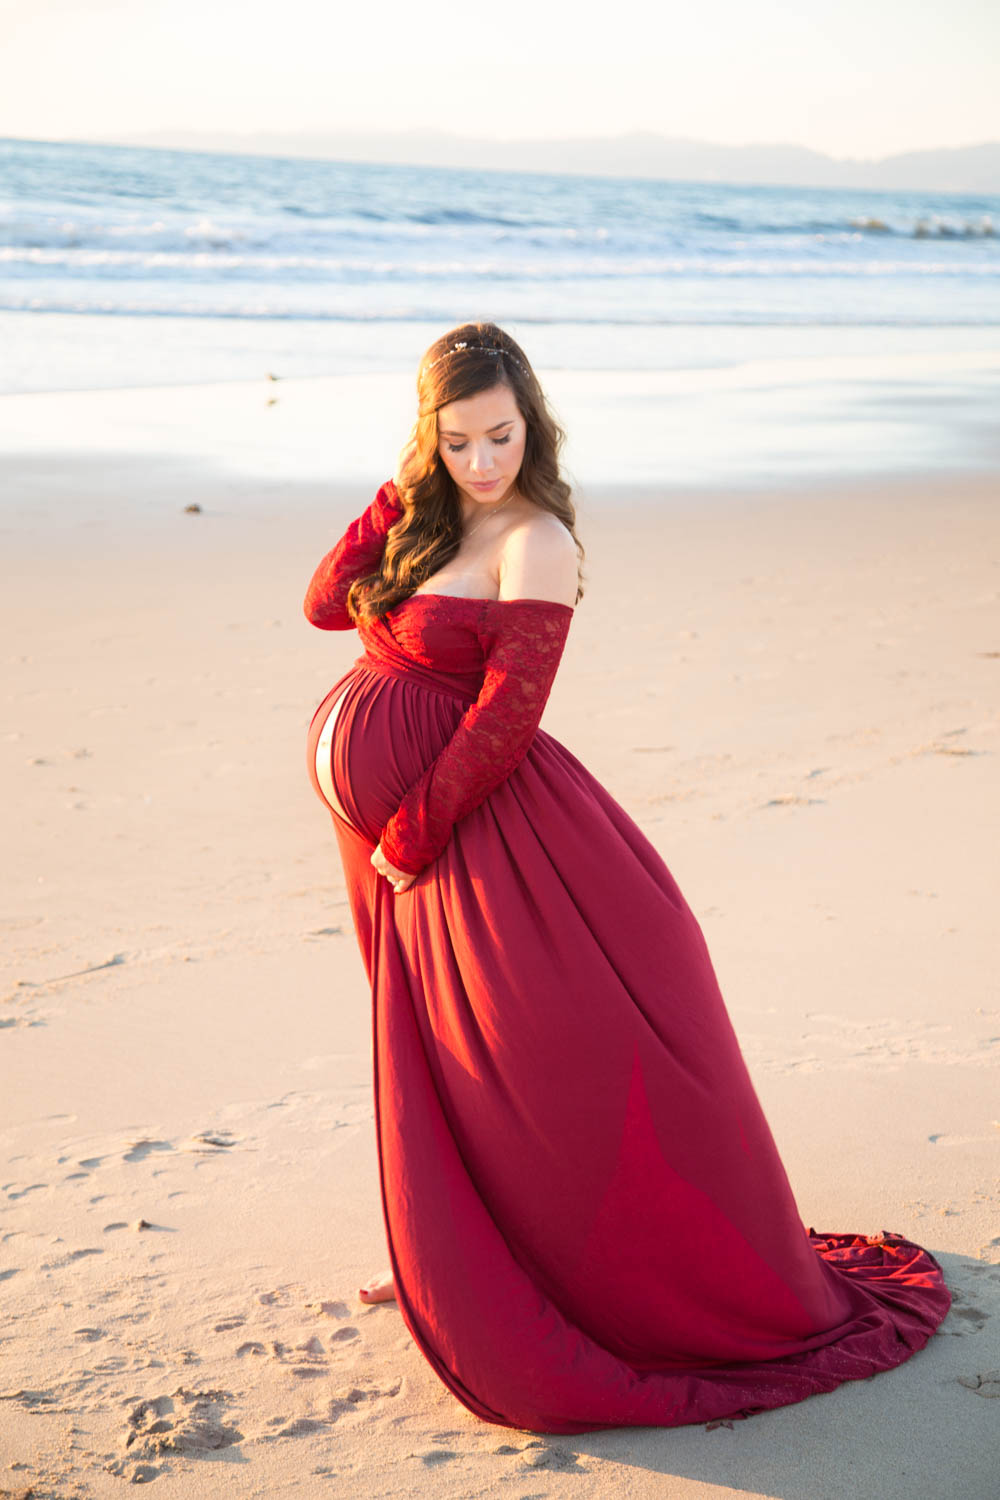
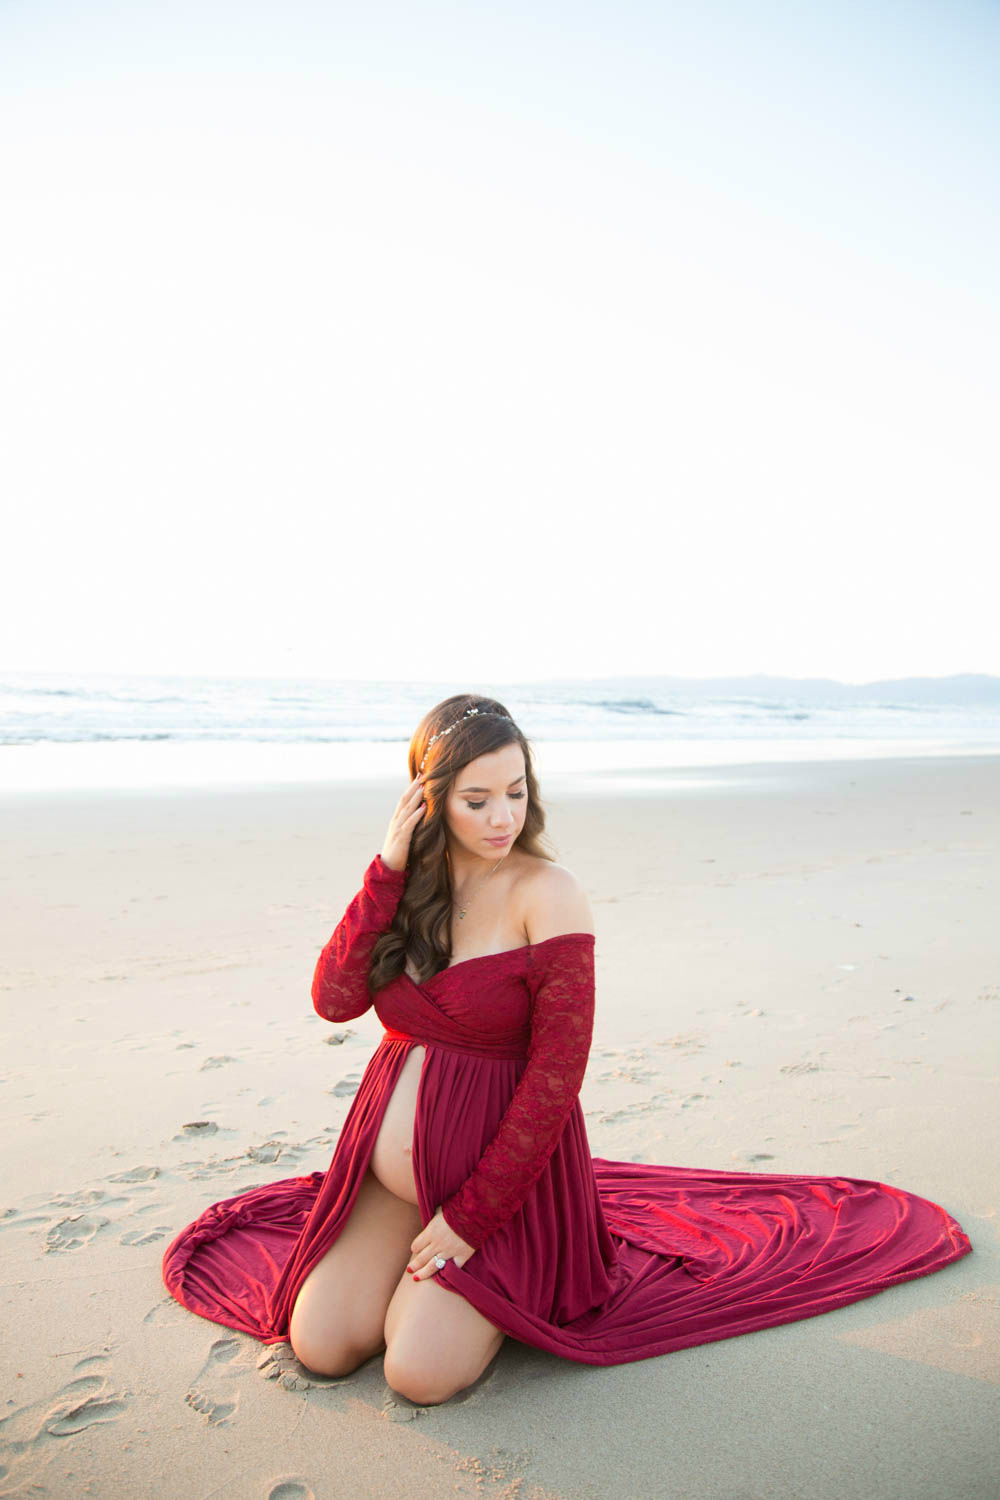
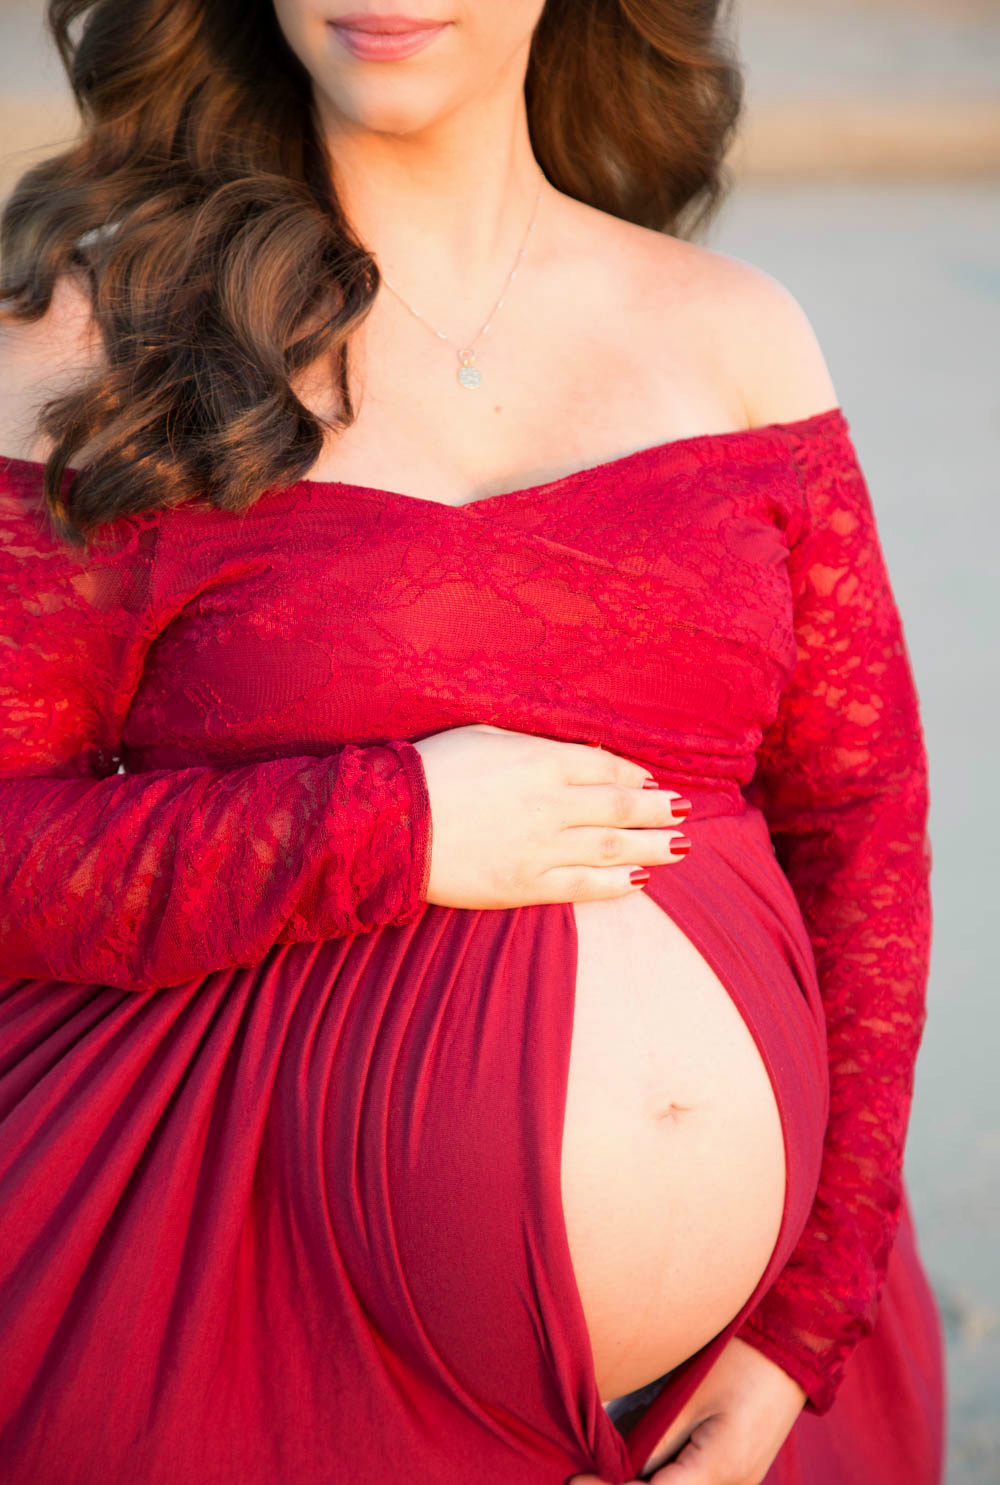
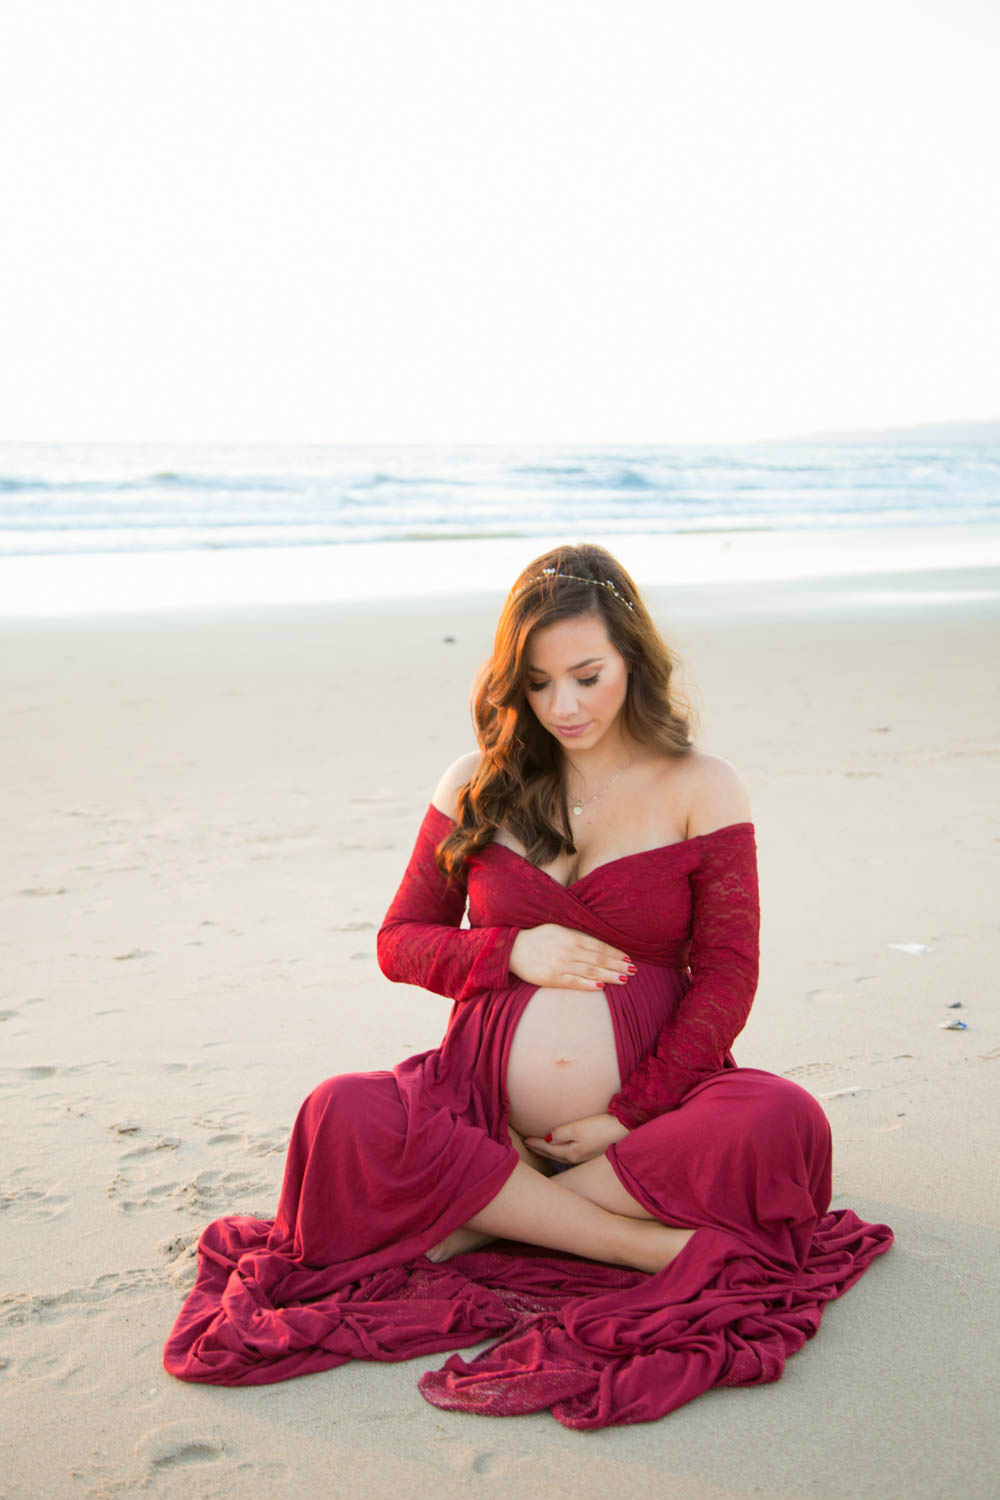
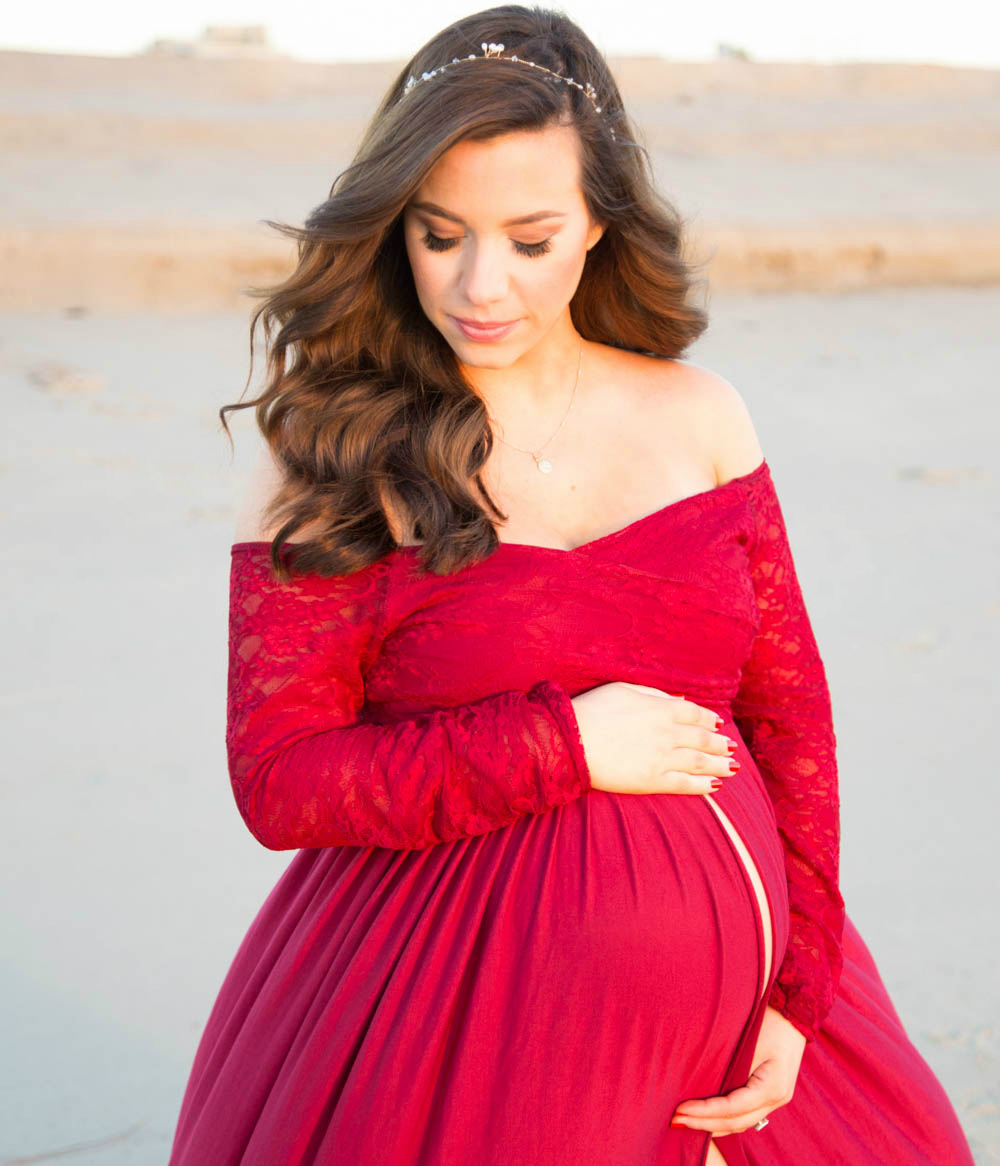
I’m so excited to share with you guys today’s video on a do it yourself maternity shoot and also these pictures! I’m such a procrastinator that I waited until I was 39 weeks to take these photos with Doug and I’m lucky I didn’t go into labor before then or else we wouldn’t have anything to document our ninth month of me being pregnant! I chose to wear this burgundy maternity dress perfect for photoshoots in your eighth or ninth month and this headpiece (I wore this similar one for my wedding from the same shop) so when I saw the more daintier one, I knew it would be perfect for a maternity shoot!
Honestly, it wasn’t until my third trimester that I started to enjoy pregnancy as strange as that sounds. Even though I was eating more than ever, could barely walk up the stairs, and felt huge, for the first time I didn’t feel sick and I was so happy! Anyone that says the third trimester is the worst one isn’t always right! As much as these pictures look peaceful and calm, a lot of hard work went into them. To start the shoot off, a flock of seagulls flew overhead and one of them pooped on Doug’s shoulder (LOL) so we had to deal with that. The wind was crazy and my curls fell flat and anyone that walked by us kept staring because of course I’m an eyesore at 9 months pregnant with my giant belly out and only wearing underwear underneath the open dress! Taking your own maternity pictures especially in public can seem daunting, but trust me it’s worth it to have these memories to look back on! I wanted to share a few tips on how we shot these photos outdoors for any of you who want to do the same…
- Take your photos between 30-36 weeks. I took mine at 39 weeks and that was risky!
- For outdoor shoots, take your photos during the “golden hour”. That means one hour before the sun sets or rises. Having an overcast sky is best, but we didn’t get that lucky so we positioned the sun to our sides to as not to cast a huge shadow over our bodies or faces.
- Learn how to use a self timer and tripod BEFORE you go to your shoot. This will save you a lot of annoyance when there’s people around and your dealing with the elements (wind, sun, etc.)
- Plan your poses out ahead of time and pin them to a Pinterest board, referring to the board throughout your shoot to make sure you have all the poses that you want captured.
- Practice your poses in front of a mirror by yourself and with your spouse. This will put you both at ease for the day of the shoot!
- Be in a good mood! This sounds simple, but trust me, whenever Doug and I bicker it usually happens when we are taking pictures together. There’s a lot of stress that goes into getting the perfect shot because you have to work with the camera settings, sunlight changes, outfit mishaps, etc. So eat a good meal beforehand and come energized!
*A big thank you to Sew Trendy Accessories for collaborating with me in this post!
Beautiful pictures. You looked flawless!
Hey what equipment did you use to take the photos?